
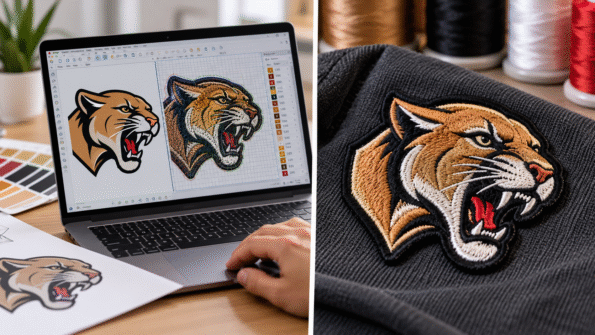
Patch digitizing is the step that turns artwork into instructions an embroidery machine can follow.
It does more than convert a logo into another file format. During digitizing, the design is interpreted as stitch paths, stitch directions, densities, layers, underlay, and sewing sequences.
That means the embroidered version of a logo may not be constructed exactly like the digital artwork on your screen. Small details may be simplified, shapes may need slight adjustment, and different areas may use different stitch directions to produce a clear finished patch.
If you want a broader introduction to embroidery construction, read our Custom Embroidered Patch Guide.
What Is Patch Digitizing?
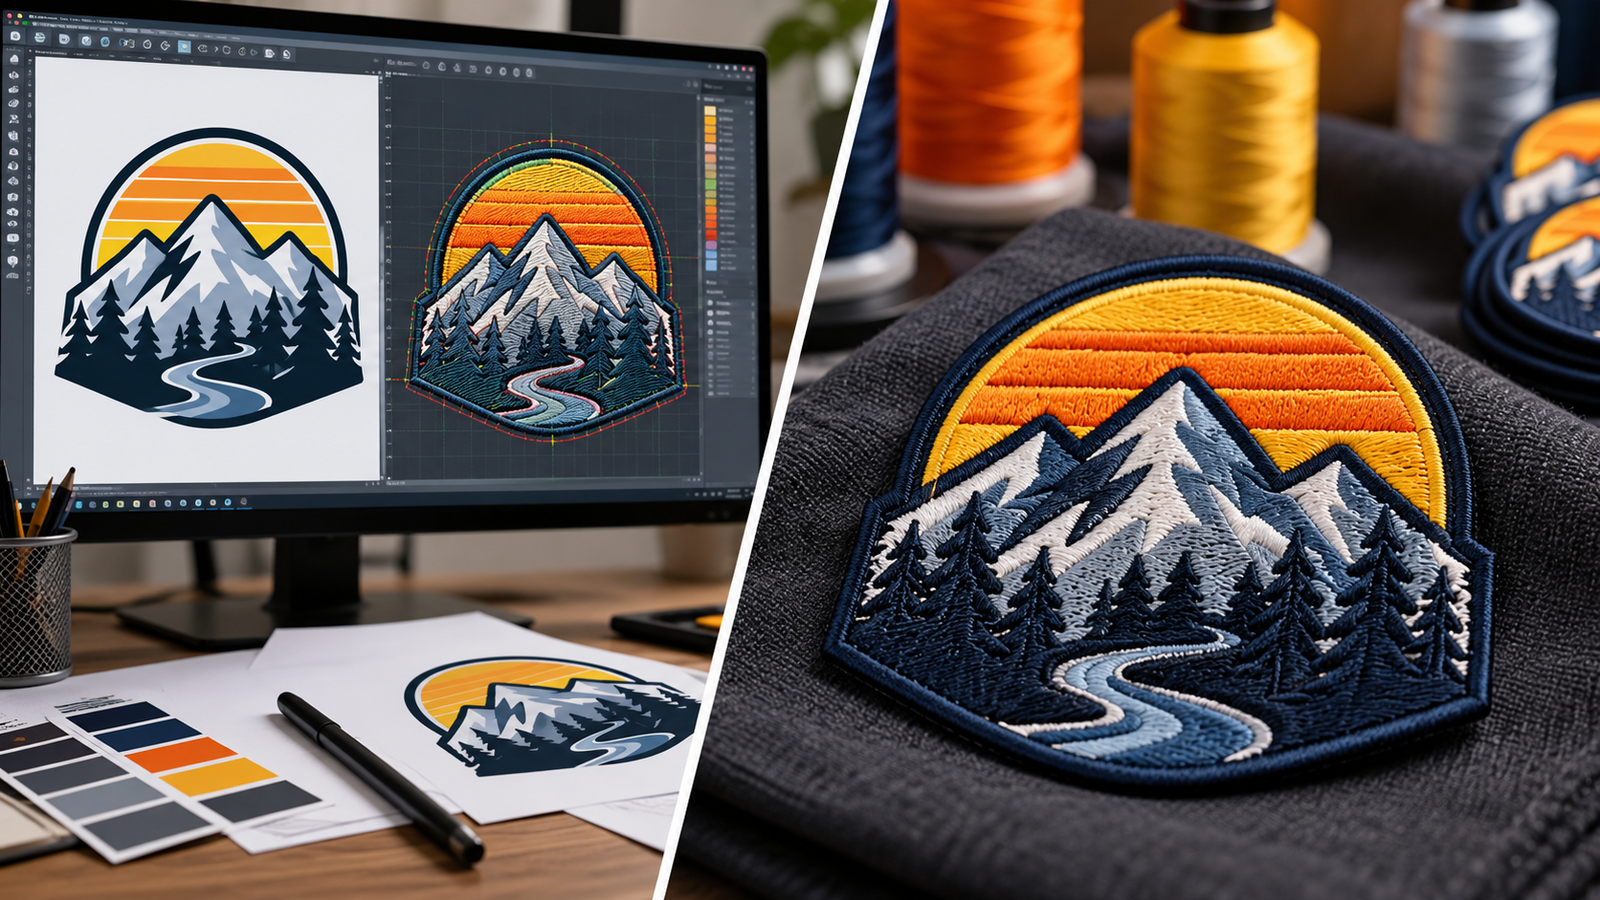
Patch digitizing is the process of translating visual artwork into embroidery instructions.
A normal image tells you what the design looks like.
A digitized embroidery file must also tell the equipment how to build that design with thread.
That can include decisions about:
- Where stitching starts
- Where it stops
- Which area is sewn first
- Stitch direction
- Stitch type
- Stitch density
- Underlay
- Overlapping elements
- Edge compensation
- Areas that need simplification
This is why simply uploading a high-resolution image is not the same as having an embroidery-ready file.
The image provides the visual reference. Digitizing determines how thread creates it.
Why the Embroidered Version May Look Slightly Different
Digital artwork has almost no physical limitations.
A logo on a screen can contain:
- Hairline strokes
- Tiny lettering
- Smooth gradients
- Extremely sharp corners
- Overlapping shapes
- Very small gaps
Embroidery uses physical thread on fabric.
The design therefore has to be interpreted in a way that can be stitched clearly at the intended patch size.
The goal is not to redesign the logo unnecessarily. It is to preserve the recognizable features while making the artwork practical for embroidery.
Stitch Paths Decide How the Design Is Built
A stitch path is the route used to create an embroidered element.
Consider a simple block letter.
A computer graphic may treat that letter as one solid shape. In embroidery, the digitized file needs instructions for how stitches should travel through that shape.
The path can affect:
- Edge cleanliness
- Direction of the thread texture
- How different areas connect
- Where stitching begins and ends
- How efficiently one area leads into another
Complex logos may contain several stitch paths working together.
This is one reason embroidery is not simply a printed image made with thread.
Stitch Direction Adds Shape and Contrast
Thread reflects light differently depending on the direction in which the stitches run.
Digitizing can use that characteristic to separate adjacent areas.
Imagine a logo containing two blue shapes next to each other.
If both are stitched in exactly the same direction, they may visually blend together.
Changing the stitch direction can help those shapes appear more distinct even when the thread color stays the same.
Stitch direction can also help define:
- Letters
- Borders
- Curves
- Background areas
- Geometric sections
- Mascot details
It becomes part of the visual design of an embroidered patch.
Stitch Density Needs Balance
Stitch density refers to how closely stitches are placed together.
More density does not automatically mean a better patch.
Too little coverage can leave an area looking incomplete when solid embroidery is intended.
Too much stitching in a small area can create unnecessary thickness and make fine elements harder to distinguish.
The correct approach depends on the:
- Artwork
- Stitch type
- Thread
- Fabric base
- Size of the element
- Surrounding embroidery
For buyers, the important point is simple: embroidery density should support clarity rather than simply maximize the amount of thread.
What Does Underlay Do?
Underlay is supporting stitching placed beneath visible top stitches.
You normally do not notice it in the finished design, but it can help create a stable foundation for the visible embroidery.
Depending on the design, underlay may help:
- Support the top stitching
- Define an embroidered area
- Control the fabric beneath the stitches
- Improve the structure of larger embroidered sections
Not every element needs to be constructed in exactly the same way.
The digitizing plan should reflect the shape, fabric, and stitch style being created.
Sewing Sequence Matters
An embroidered design is created in an order.
The machine cannot stitch every part simultaneously.
Digitizing therefore determines which areas are sewn first and which come later.
For example, a design might contain:
- Background shape
- Large central symbol
- Smaller foreground elements
- Lettering
- Fine finishing details
The actual order depends on the artwork.
Sequencing matters because embroidered elements may overlap, touch, or sit on top of one another.
A well-planned sequence helps the finished patch maintain clear visual layers.
Why Compensation May Be Needed
Fabric and thread are physical materials.
During embroidery, stitched areas can behave differently from the perfectly fixed shapes shown in digital artwork.
Digitizing may therefore include small adjustments to help the finished embroidered shape appear closer to the intended design.
This is commonly discussed as compensation.
For example, an edge may need a slight adjustment so the finished stitched area visually reaches the intended boundary.
These adjustments are production decisions, not arbitrary changes to your logo.
They exist because embroidery has physical behavior that screen graphics do not.
Small Details May Need Simplification
Digitizing becomes particularly important when artwork contains details close to the physical limits of the chosen patch size.
Examples include:
- Tiny text
- Thin outlines
- Small gaps
- Fine facial features
- Closely packed lines
- Detailed shadows
Trying to reproduce every tiny element can sometimes make an embroidered design less clear.
A better solution may be to:
- Remove unnecessary lines
- Thicken an important stroke
- Open a narrow gap
- Simplify a small shape
- Increase lettering size
- Reduce decorative detail
The objective is to preserve the identity of the design at the size people will actually see.
Digitizing Is Not the Same as Vectorizing
These terms are sometimes confused.
Vector Artwork
Vector artwork describes visual shapes using mathematical paths. It can be resized without the pixelation associated with raster images.
Embroidery Digitizing
Digitizing assigns embroidery instructions to the artwork.
A vector logo may be excellent source artwork, but it still needs to be interpreted for embroidery.
Likewise, receiving a digitized embroidery file does not automatically mean you have an editable brand vector file.
They solve different problems.
How Lettering Is Affected by Digitizing
Text deserves special attention because small changes are easy to notice.
During digitizing, lettering must work at its real physical size.
Potential issues include:
- Thin letter strokes
- Small spaces inside letters
- Tight character spacing
- Narrow gaps between words
- Decorative fonts
- Very small lowercase text
A font that looks clean on a monitor may need adjustment when translated into thread.
If small embroidered lettering is important to your project, prioritize readability over preserving every typographic detail.
What Buyers Should Check in the Proof
You do not need to understand embroidery software to review your patch intelligently.
Focus on visible outcomes.
Check:
- Is all wording correct?
- Are important details still present?
- Has anything been simplified too much?
- Are shapes recognizable?
- Are the proportions correct?
- Is the border positioned properly?
- Does the design look balanced at the intended size?
- Are the main colors correct?
Pay particular attention to any area that was very small in the original artwork.
The proof is your opportunity to identify a visual concern before production.
Artwork Checklist Before Digitizing
Providing clear source artwork makes the interpretation easier.
Before submitting your design, check that you have:
- The clearest logo file available
- Correct spelling
- Approved colors
- Intended patch dimensions
- Correct logo version
- Notes about elements that must remain
- Information about the intended application
You do not need to manually create embroidery stitch instructions yourself.
Provide the clearest representation of what you want the finished patch to communicate.
If you are ready to create a stitched version of your artwork, explore Custom Embroidery Patches.
Digitizing Should Serve the Design
Good patch digitizing is not about changing a logo for the sake of changing it.
It is about translating a flat graphic into a physical stitched surface.
Stitch paths determine how elements are built. Direction changes thread texture. Density controls coverage. Underlay supports visible stitching. Sequencing establishes layers. Compensation accounts for physical embroidery behavior, while simplification can protect clarity when details become too small.
For buyers, the most important step is to review the resulting design at its intended patch size rather than judging only the original artwork.
When your logo or artwork is ready, request a free quote for Custom Embroidery Patches and include your desired size, quantity, colors, and intended use.
Frequently Asked Questions About Patch Digitizing
What is patch digitizing?
Patch digitizing converts artwork into embroidery instructions that define stitch paths, direction, density, sequencing, and other information needed to build the design with thread.
Is embroidery digitizing the same as converting an image to vector?
No. Vectorizing creates scalable graphic artwork. Embroidery digitizing determines how that artwork will actually be stitched.
Does digitizing change my logo?
It may require small practical adjustments to fine details, spacing, shapes, or lettering so the design remains clear when reproduced with thread.
Why does small text sometimes need adjustment?
Thread has physical thickness, so very small letters, thin strokes, and narrow spaces may lose clarity when stitched. Increasing or simplifying the lettering can improve readability.
What is underlay in embroidery?
Underlay is supporting stitching placed beneath the visible embroidery. It can help establish a stable foundation for the top stitches.
Do I need to digitize my own artwork before ordering embroidered patches?
Not necessarily. Provide clear artwork and your intended size and application. Confirm the exact artwork and digitizing workflow with the patch supplier before production.
