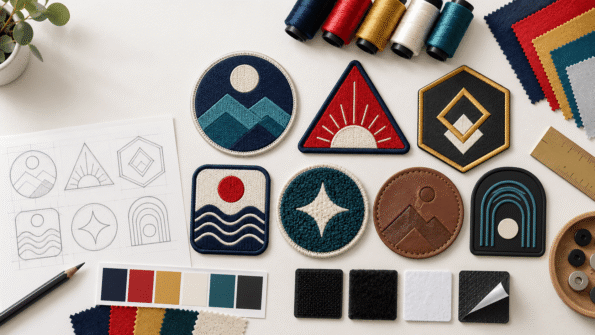
Designing a custom patch is easier when you understand the choices that affect its final look, feel and use. A good patch design starts with a clear purpose, suitable artwork and the right combination of patch type, size, shape, colour, border and backing.
Whether you are creating patches for a business, sports team, club, uniform, event, motorcycle group or personal project, this guide explains the full process from your first idea to preparing a quote request. The goal is not simply to make a design look good on screen. It is to create a patch that is clear, durable and appropriate for where it will be used.
If you are ready to compare options for your project, explore custom patches after reading this guide.
Start With the Purpose of Your Custom Patch
Before choosing colours or materials, decide what the patch needs to do. Its purpose helps determine the right design and production choices.
For example, a patch for a work uniform may need a neat, professional appearance and an easy attachment method. A patch for a hat may need a shape and backing that sit well on a curved surface. A detailed logo patch may need a material that can reproduce small lines more clearly.
Ask these questions before starting:
- Where will the patch be placed?
- What material will it attach to?
- Is it for uniforms, hats, bags, jackets, events or promotional use?
- Does the design include small text, fine details or gradients?
- Do you need a classic stitched appearance, a smooth rubber-like finish or another style?
- How will people attach or remove the patch?
These answers will make the rest of the design process much simpler.
Choose the Right Type of Custom Patch
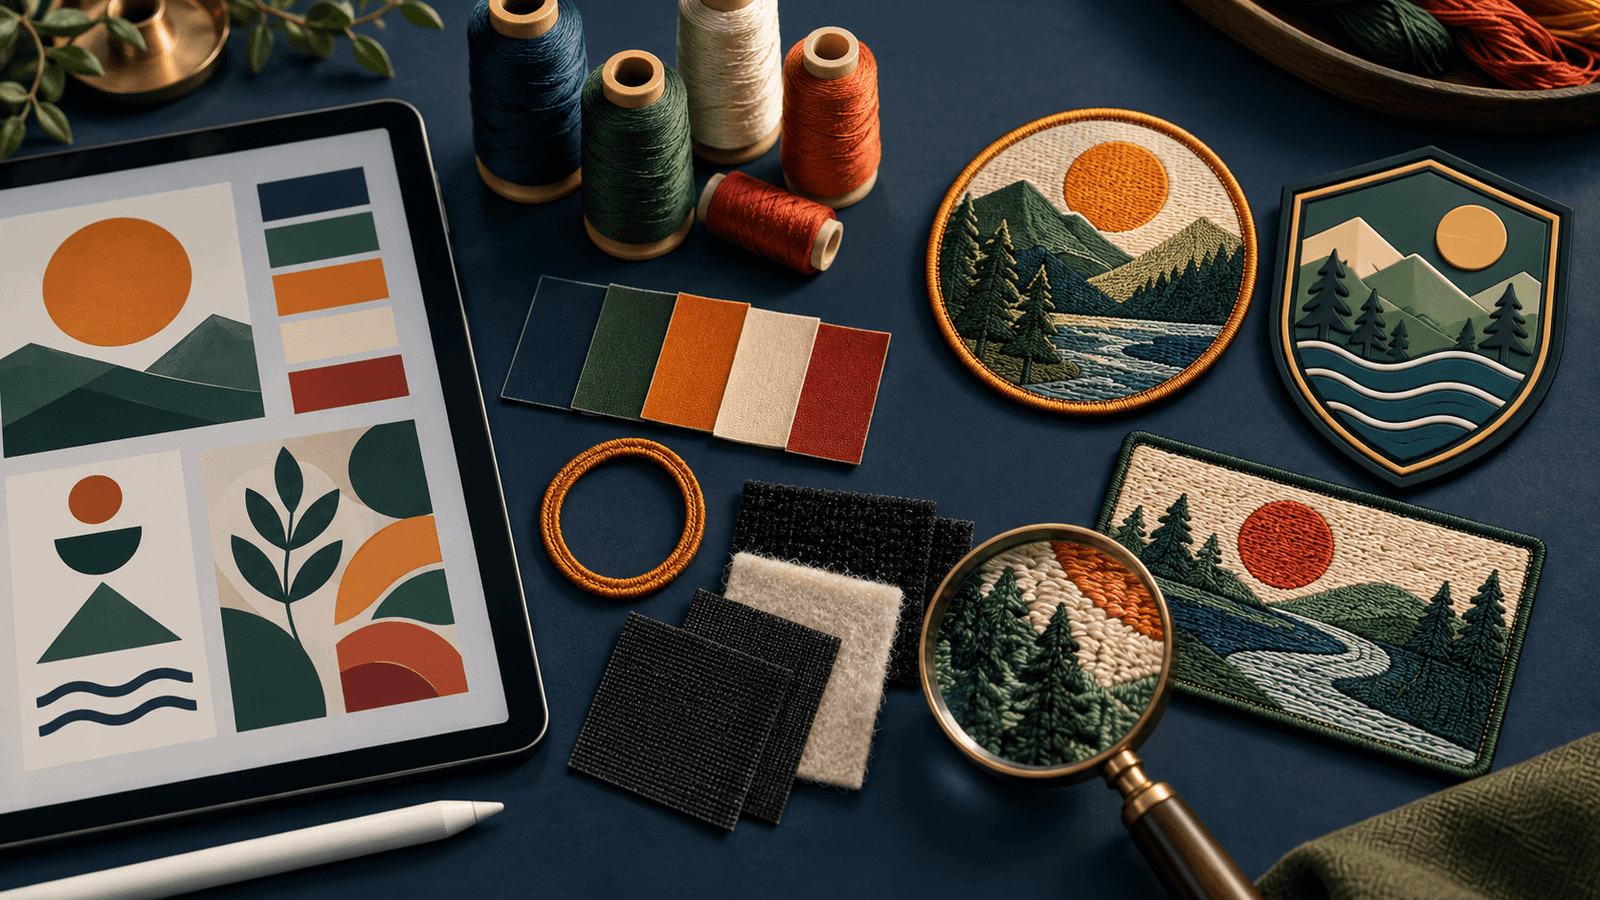
Different patch types create different visual effects. The best option depends on your artwork, intended use and preferred finish.
| Patch type | Best for | Design considerations |
|---|---|---|
| Embroidered patches | Logos, uniforms, clubs and traditional designs | Works well with bold shapes and readable text; very small details may need simplification. |
| PVC patches | Outdoor gear, morale patches, sports and modern logos | Flexible, durable-looking and well suited to bold colours and raised details. |
| Woven patches | Detailed logos, fine text and intricate artwork | Offers a flatter surface and can show smaller details more clearly than embroidery. |
| Chenille patches | Letterman jackets, varsity designs and retro styles | Best for bold lettering and simple shapes rather than tiny details. |
| Printed patches | Artwork with detailed illustrations or colour transitions | Useful when the design relies on fine visual detail that stitching may not reproduce. |
| Leather patches | Hats, apparel, bags and premium branding | Usually works best with simple logos, initials or clean line art. |
Embroidered Patches
Embroidered patches use thread to build the design. They are a familiar choice for uniforms, organisations and classic logo designs. Bold lettering, clear outlines and simple colour blocks generally work best.
Avoid using extremely small lettering or fine detail in an embroidered design. Thread has physical thickness, so overly detailed artwork may need to be adjusted before production.
PVC Patches
PVC patches are made from a flexible material with a smooth, dimensional finish. They are often chosen for outdoor, tactical, sports or modern brand designs. Raised and recessed areas can help create visual depth.
Strong contrast, simple shapes and bold outlines usually produce the clearest PVC patch design.
Woven Patches
Woven patches use finer threads and a flatter construction. This can make them a practical choice for detailed logos, smaller lettering and intricate artwork.
If your design contains thin lines or compact text, woven patches may be worth considering. Confirm the final detail level with your patch provider before production.
Prepare Artwork That Can Be Turned Into a Patch
You do not always need finished production-ready artwork to begin. A logo file, sketch, reference image or clear description can be enough to start the conversation.
However, clearer artwork usually leads to a smoother proofing process.
Use the Best File You Have
Vector files are generally helpful because they can be scaled without losing clarity. Common examples include AI, EPS, SVG and PDF files. High-resolution PNG, JPG or PSD files may also be useful, especially when the artwork is clean and large enough to review.
If you only have a low-resolution image, do not worry. Share it with your quote request and clearly explain any text, colours or details that must be included.
Keep Small Details Practical
A patch is a physical product, so it has limits that a digital design does not. Very thin lines, tiny letters and crowded elements may not remain clear at a small size.
To improve readability:
- Use short, bold text where possible.
- Leave enough space between letters and lines.
- Avoid placing too many elements in one small area.
- Use clear contrast between the background and the main design.
- Consider removing details that are not essential to recognition.
A strong patch design is often a simplified version of a logo rather than an exact copy of every small digital detail.
Select the Best Patch Size
Patch size affects readability, placement and price. There is no single perfect size because a patch for a cap is very different from one for the back of a jacket.
Measure the available area where the patch will be placed. If possible, use a ruler or tape measure and note both width and height.
A small patch may suit a chest, sleeve, cap or bag. A larger patch may work better for a jacket back, team apparel or a prominent promotional display.
When choosing size, consider:
- The placement area
- The amount of text in the design
- The level of detail
- Whether the patch needs to be seen from a distance
- Whether the patch is circular, rectangular or an irregular shape
If you are unsure, include the intended placement in your quote request. This gives the production team useful context when recommending dimensions.
Choose a Shape That Supports the Design
Your patch shape should frame the artwork naturally.
Common shapes include:
- Circle
- Rectangle
- Square
- Oval
- Shield
- Arch
- Diamond
- Custom die-cut shape
Simple shapes are often ideal for logos, text and uniform patches. A custom shape can create a more distinctive result when the outer edge follows the artwork, mascot or emblem.
For example, a badge logo may suit a shield shape, while a brand mark with a unique silhouette may look better as a custom-shaped patch.
Try to avoid a shape that leaves too much empty space around the design. The border should support the artwork instead of distracting from it.
Pick Border and Edge Options
The edge of a patch affects both appearance and how it works with the chosen shape.
A merrowed border is a raised stitched edge commonly used around simple shapes such as circles, ovals and rectangles. It gives an embroidered patch a traditional finished look.
A heat-cut or laser-cut edge may be more suitable for detailed or irregular custom shapes. It allows the patch to follow the outline of the artwork more closely.
The right border depends on the patch type and shape. Include your preferred style in the design brief, but ask for confirmation if you are not sure which edge will suit the final artwork.
Use Colours Clearly and Consistently
Colour is one of the most important parts of custom patch design. It helps people recognise your organisation, team or brand quickly.
Start with the colours already used in your logo or visual identity. If exact brand matching matters, provide colour references such as Pantone codes when available. If you do not have exact codes, share a clear digital logo and explain which colours are most important.
For the best visual clarity:
- Use high contrast between text and background colours.
- Keep the colour palette focused.
- Make sure dark text does not disappear into a dark background.
- Use outlines where needed to separate similar colours.
- Review colour choices carefully during proof approval.
The final appearance can vary depending on the chosen patch material and production method, so review the proof before approving an order.
Choose a Backing Based on How the Patch Will Be Used
The backing is the attachment method on the reverse side of the patch. It should match the item where the patch will be applied and whether it needs to be permanent or removable.
| Backing option | Suitable use |
|---|---|
| Sew-on | A secure, traditional option for garments, bags and fabric items. |
| Iron-on | Useful for compatible fabric applications where heat attachment is appropriate. |
| Hook-and-loop | Helpful when patches need to be removed, swapped or repositioned. |
| Adhesive | Often suited to short-term applications; confirm the intended surface and use case. |
| Pin or other hardware | May suit badge-style or non-fabric applications, depending on the patch type. |
Always confirm backing compatibility before ordering. Fabric type, heat sensitivity, surface texture and intended use can affect the best attachment method.
For example, an iron-on backing may not be the right choice for every material. Hook-and-loop may be more practical for uniforms or gear where patches are regularly changed.
Review the Patch Proof Carefully
A proof is your opportunity to review the proposed patch design before production begins. This is one of the most important stages of the entire process.
Check the proof for:
- Correct spelling
- Correct logo version
- Accurate colours
- Proper size and shape
- Clear text
- Correct border style
- Correct backing choice
- Placement of all design elements
- Any requested changes or special notes
Do not approve a proof until it reflects the design you want. If something is unclear, ask questions and request revisions. It is much easier to make adjustments at this stage than after the patch has been produced.
What to Include in a Custom Patch Quote Request
A detailed quote request helps the provider understand your project and respond more accurately.
Include as much of the following information as possible:
- Artwork: Upload your logo, sketch or reference image.
- Patch type: Mention whether you are considering embroidered, PVC, woven, chenille, printed or leather patches.
- Size: Provide the approximate width and height.
- Shape: State whether you want a standard or custom shape.
- Colours: Share brand colours, colour references or a clear image.
- Backing: Explain how you want the patch attached.
- Quantity: Include the number of patches you need.
- Use case: Explain whether the patch is for uniforms, hats, events, retail, clubs, gear or another purpose.
- Deadline: Share the date you need the patches by, if applicable.
- Special requirements: Mention packaging, individual names, multiple designs or other important details.
If you do not know every specification yet, that is fine. Start with your design and intended use, then ask for guidance on the remaining choices.
Common Custom Patch Design Mistakes to Avoid
A little planning can help you avoid problems later.
Trying to Fit Too Much Into a Small Patch
Long text, tiny logos and too many colours can make a small patch difficult to read. Simplify the design or increase the patch size if necessary.
Choosing a Backing Before Considering the Surface
The best backing depends on where the patch will go. Think about the garment, fabric, gear or surface before making a final choice.
Approving Artwork Without Checking the Details
Always read every word and review every element in the proof. Spelling, colour and placement details matter.
Using Low-Contrast Colours
A dark design on a dark background or light text on a busy background may not be easy to see. Use contrast to keep the patch clear.
Copying a Digital Logo Without Adapting It
A detailed digital logo may need minor changes to work as a patch. Simplification is often part of creating a clean, recognisable final product.
Frequently Asked Questions
What is the best file format for custom patch artwork?
Vector files such as AI, EPS, SVG and PDF are often useful because they retain detail when resized. A clear, high-resolution PNG or JPG can also help. If you only have a sketch or low-resolution image, submit it with notes explaining the key details.
Which patch type is best for detailed logos?
Woven and printed patches can be suitable for detailed logos because they can show fine lines and smaller text more clearly. The best option depends on the artwork, size and desired finish.
How do I choose the right patch size?
Measure the area where the patch will be placed and consider how much text or detail it contains. A larger patch gives more room for readable lettering and visual detail.
Can a patch be made in a custom shape?
Yes, many patch designs can use a custom outer shape. This is often called a die-cut shape. It can be useful when you want the patch edge to follow a logo, emblem or mascot outline.
What is the difference between sew-on and iron-on patches?
Sew-on patches are stitched onto fabric, while iron-on patches use heat-activated backing on compatible materials. The best choice depends on the fabric and intended use.
What should I check before approving a patch proof?
Check spelling, colours, size, shape, border, backing and overall placement. Make sure the proof matches your artwork and written instructions before approving it.
Turn Your Patch Idea Into a Clear Order Request
The best custom patches begin with a clear purpose and a practical design. Choose a patch type that suits your artwork, keep text readable, select the right size and shape, and make sure the backing works for the intended surface.
You do not need to have every decision finalised before asking for help. Share your artwork, explain where the patch will be used and include any preferences you already have.
Ready to start your project? Request a free quote for custom patches and include your artwork, quantity, preferred size and use case.
